10 Miniature Painting Tips
I have been painting since I was twelve which means I have been making a ton of painting mistakes in my life. Today I will share 10 miniature painting tips that I learned the hard way.
1. Prime with something else than black
Ever thought that painting yellow or red wash too hard because it takes 4 layers for the basecoat to cover? Well, try priming with white or grey. I find that the details are much easier to pick out when the miniature starts with a white colour and the minis just invite to be painted much more than black does.
After you have tried a white/grey/brown (which can work with all colours) try priming with the colour that is gonna be the primary basecoat. And after that read up on zenithal priming and go nuts with that!
2. Use sticky tack when you prime your miniatures
Under the bases of your miniatures, you need to put a bit of sticky tack. That way you won’t knock over your models with the force from the spray can (or by bumbling about like an idiot). This trick also means that the models do not to be on the bases in order to by primed #mindblowing

3. Spend time on basing and less on painting
If you took a look at your army from an efficiency perspective, what elements should you spend the most time on? What elements will give you the most bang for the buck for the hours of work you put in?
Bases. A badly painted army can look stunning with well-done bases. On the opposite side, a beautifully painted army with bad bases will look… well bad!
Think about this: have you ever seen a stunning army with bad bases? Highly unlikely. So go to town on your bases.
(if you have more time, the next thing you should focus on is the faces of the miniatures and then the hands. This is what your eyes will be drawn to when you first look at the army.
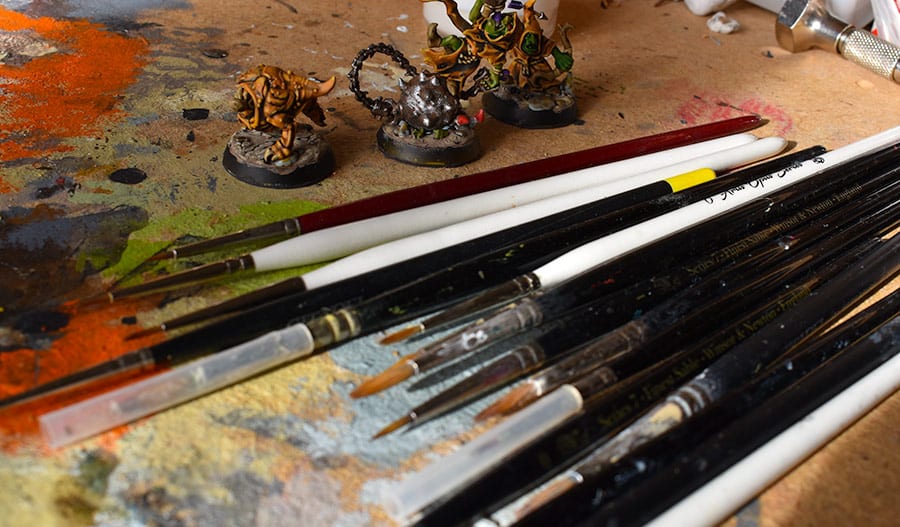
4. Use the right sized brush for the job
Seriously, next time you sit down to paint try an experiment: see how big a brush you can use to do the basecoat. Not the whole basecoat, but the big areas (chest, back, legs and other open areas). After you are done ask yourself if you could see the difference? Sure, you might some areas you did not want to paint, but you are gonna paint those afterwards anyway. Now ask yourself if it saved any time.
5. Learn colour theory to avoid colour scheme mistakes
My suggestion? Just an hour of research into colour theory can save you countless hours and mistakes in the future. Do yourself a favour and read a bit about it.
6. Get a wet palette (or build one)
Dry paint is a sin, we all know that after a few years with the ‘two thin coats’ and ‘thin your paints’ memes. But in spite of that, quite a lot of people are hesitant about getting a wet palette. Do not get me wrong, I was the same way and hot damn that was a mistake.
A simple household box, a bit of cotton wool, water and some parchment paper and you are set. It will take you only a few minutes to do and costs a few dollars. For that investment, it will make it much easier to get your paint the right consistency. I was amazed at how much more my paint would do the thing I wanted to, especially after I also followed the next tip.
7. Try diluting your paint with something else than water
Try diluting your paint with something else than water. What you might not know is that water evaporates quite quickly, which means that your paint will change consistency over time while you paint.
I use Lahmian medium and Vallejo thinner. If I use a lid on my wet palette, the paint will actually stay wet from one evening to the next. I save a ton of paint and it is just awesome!
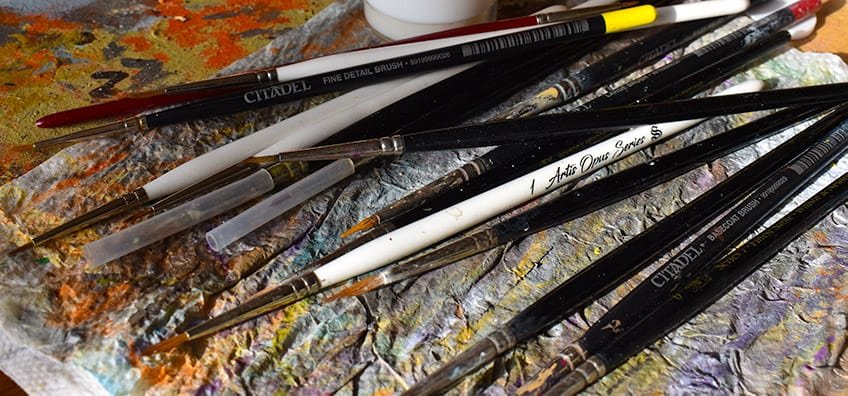
8. Learn to take better care of your brushes
Something that all beginners struggle with, myself included, is brush care. Why is it important? Well, ever felt like the bristles on your brush was made of wood? Yeah, that is hard to paint with.
So if you want to avoid having brushes that cannot hold a neat point or do the annoying split after you have used it for 2 minutes, you have to take better care of your brushes.

9. Buy some good brushes
I did the mistake of waiting too long to buy something a bit better than the citadel and price equivalent stuff. This was wrong because my highlights got much cleaner and it way easier to paint with some better equipment.
I am not saying you should go out and buy super expensive brushes just when you start out, but if you have been painting for a few years you will be ready to see the improvements a good brush can do. Just remember, the tools will only help you improve.
10. Steal ideas and stop trying to do something unique
The worst mistake I have done with my paint hobby was thinking that I had to do something unique. That
Why the heck did I ever think that? In this hobby so, much awesome stuff is getting shared. So many great tutorials, ideas and ways of doing things are just there at your fingertips. Use it. Use it all. Steal everything you can, grab the most awesome ideas and go. Do not spend all your time thinking about doing something unique.
In the end, what is the point of trying to do something unique? Just do something cool, regardless of who had the idea or did it first.
Peter K.
